Network Asset Tracker Pro
Compatible with: from Windows NT up to Windows 10
You can get information from remote PC through WMI (agentless method) or, if you have any problems with WMI, you can use "NAT Pro - Agent" installed on remote PC (agent-based method). Network Asset Tracker Pro automatically detects if "NAT Pro - Agent" is installed on remote computer. Also you can scan remote computers using logon script.
Three Types Of Scan Available
·Immediate online scan (agentless method);
·Immediate online scan using "NAT Pro - Agent" (agent-based method);
·Inventory using logon script.
Storing Inventory Data In Database
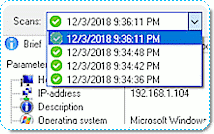
You can track changes in inventory data using history of scans.
The database for Network Asset Tracker Pro can reside on any of the following database
management systems:
·Microsoft Access
·Firebird
·Microsoft SQL Server
·Oracle
Hardware Inventory
Using Network Asset Tracker Pro you will have up-to-date hardware information about each workstation on your network.
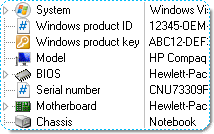
Basic information:
·Processor type and frequency;
·BIOS information and serial number;
·Motherboard and chassis;
·Network adapters;
·Memory size and memory modules;
·Hard drive, CD/DVD drive and FDD
·Video card and monitor;
·Multimedia devices;
·Modems and printers.
Extended information:
·Manufacturer;
·Serial number;
·Version, etc...
Settings and parameters:
·MAC-address and IP-address;
·DHCP, DNS and WINS settings;
·Total and free space of logical drives;
·Number of memory modules;
·Current graphics resolution, etc...
Software Inventory
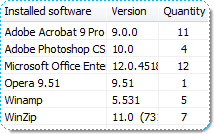
You can track software installed on your network computers, unwanted applications, applications that require an upgrade. Network Asset Tracker Pro retrieves the product keys for a variety of Microsoft Windows, Office, SQL Server and dozens other software products. It provides the information to assist in managing an enterprise's installed software, implementation and license compliancy program.
Software & OS-related information:
·Operating system type, version, build, product key and product ID;
·Service packs and hotfixes;
·Shared resources;
·Startup programs;
·Product keys and versions of installed software;
·Running processes.
Search for Files on Remote Computers
You can search for files on remote computers even if that files are not in a shared folder. Just specify a filename or an extension in the search parameters.
Remote Desktop Screenshot
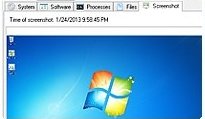
You can capture a full-size screenshot of any remote desktop. The captures can be saved to disk, in either BMP or PNG format. To capture a remote desktop screenshot you should install "Network Asset Tracker Pro - Agent" on the remote PC.
Inventory of SNMP-enabled Network Devices
Network Asset Tracker Pro can collect data from SNMP-enabled network devices
(routers, switches, printers, repeaters, etc.):
·Description, up time, services, etc...
Data Reporting
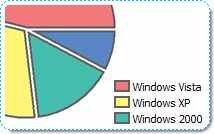
Just apply the necessary filtering to inventory data, and you can easily generate a report on any topic that interests you. You can export reports in HTML, MS Excel, CSV and RTF formats. By using chart builder you can create your own chart and then export it in HTML.
Examples of reports in HTML format: List-style report, Sheet-style report.
Additional Features:
·Highlighting changes;
·History of scans;
·Custom columns;
·Using "NAT Pro - Agent" for standalone scans;
·Scheduler.
NAT Pro - Screenshots
How To Use NAT Pro in your environment
System requirements
Platform:
| Windows 10 | Windows Server 2019 |
| Windows 8 | Windows Server 2016 |
| Windows 7 | Windows Server 2012 R2 |
| Windows Vista | Windows Server 2012 |
| Windows XP * | Windows Server 2008 R2 |
| Windows 2000 * | Windows Server 2008 |
| Windows NT * | Windows Server 2003 R2 |
| Windows Me * | Windows Server 2003 |
| Windows 98 (with WMI CORE) * | |
|
* Could be only scanned
|
|
Hardware requirements:
·Memory: 128MB RAM
·Processor: Pentium-500 MHz
·Space required on your hard disk: 10MB
·Video mode: true color
Main Window
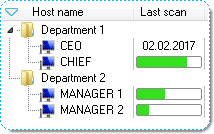
On the left side of main window you can see a list of computers, along with host name, IP-address and the date when information was last updated.
You can organize your computers by groups (folders). For this you can use drag and drop.
 - folder with computers or folders (for example, it
might be department or room).
- computer.
- network device.
- printer.
- computer is on-line and "NAT Pro - Agent"
detected.
![]() - network device is off-line.
- network device is off-line.
![]() - network device is on-line.
- network device is on-line.
Getting Started
When you first start the program you need to add computers of your network to the list.
Network Asset Tracker Pro provides three ways to scan your network:
·Enumerate network for all computers;
·Add computers by domain;
·Add computers by range of IP addresses.
·Add UPnP Printers.
Also, you can add computers to the list manually one-by-one.
Enumerate network for all computers
Network Asset Tracker Pro enables you to scan all available computers on your network with just one click.
To enumerate all computers on your network perform the following steps:
·Click "Find Computers" button from the toolbar or press "F3";
·This will start scanning your network for all available computers;
·To cancel scanning process, click the "Stop finding of computers"
button from the toolbar or press "F4";
·When the scanning process will complete you will see the list of
computers.
Add computers by domain
To add computers by domain perform the following steps:
·Click "Add Computers by Domain" button from the toolbar;
·An "Add Computers by Domain" dialog box will appear on the screen;
·Type name of domain;
·Click "Ok" button.
Add computers by range of IP addresses
Sometimes you need to scan available computers within a particular range of IP addresses. Just provide the starting address, the last IP address and Network Asset Tracker Pro will scan all available computers between that range of IP addresses.
To add computers by range of IP addresses perform the following steps:
·Click "Add Computers by IP range" button from the toolbar;
·An "Add Computers by IP range" dialog box will appear on the screen;
·Type a range of IP addresses;
·Click "Ok" button.
Add computers manually
To add computers manually you should click "Add Computer by Host Name" button from the toolbar or press "Ctrl+N". Then type a host name of the computer and click "Ok" button.
How to delete computers
To delete computers or folders press "Del" key or select menu "Computer" -> "Delete". Then selected folders and computers will be deleted from the list.
How to get information from remote PC
You can get information from remote computer through WMI (agentless method) or through "NAT Pro - Agent" (agent-based method). By default Network Asset Tracker Pro uses WMI. To use agent-based scan you should install "NAT Pro - Agent" on remote PC. Network Asset Tracker Pro automatically detects if "NAT Pro - Agent" is installed on remote computer.

Just select computers you want to scan and click "Get Info" button from the toolbar or press "Ctrl+I". This will start scanning remote computers.
You can set up the type of information collected from remote computers. To do this select menu "File" -> "Options", then "Scan Properties".
The account attempting remote access should be an administrator on the target computer (for example - domain administrator). If you don't have rights of the domain administrator you can use custom logon name and password for getting info from remote PC. To do this, select menu "File" -> "Options", then "Custom Logon".
How to use the agent on remote PC
If you have any problems with WMI, you can use agent installed on remote PC. You can install "NAT Pro - Agent" from main Network Asset Tracker Pro installation package. Also you can download "NAT Pro - Agent" as a standalone installation package at misutilities.com site. You can download a standard EXE-package or download a MSI-package for remote deploying through Active Directory.
- green color of computer's icon shows that "NAT
Pro - Agent" is detected.
You can set up some options of agent installed on remote PC. To do this select menu "Computer" -> "Remote Agent Information".
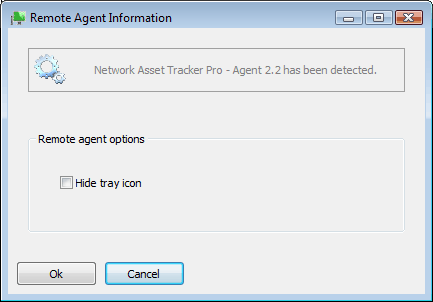
By default the icon of "NAT Pro - Agent" is visible in system tray on remote computer. You can hide this icon from system tray. To do this select "Hide tray icon" option in "Remote Agent Information" window.
How to use Logon Script
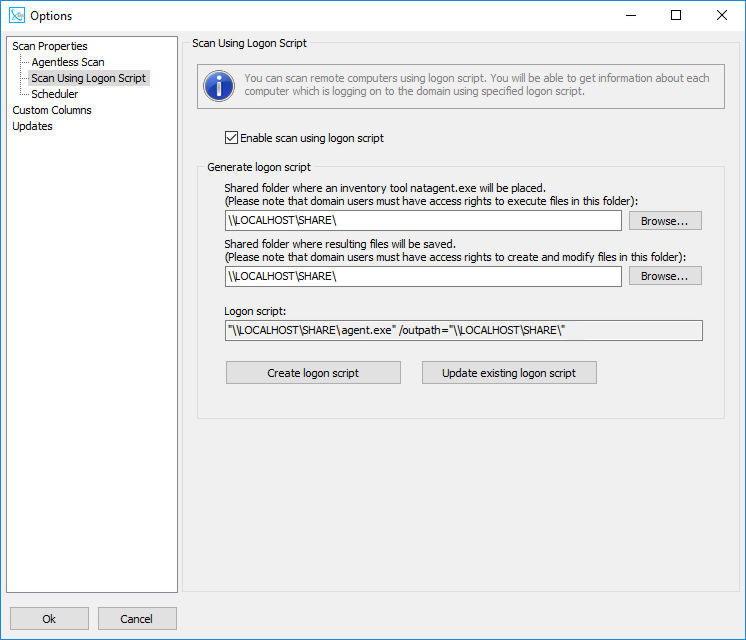
To use logon script select menu "File" -> "Options", then select "Scan Using Logon Script". All you need is to set up shared folder where an inventory tool natagent.exe will be placed and shared folder where resulting files will be saved.
To create a new logon script you should click "Create logon script" button. If you already have logon script please click "Update existing logon script" button.
Usually logon scripts are located in the folder "%systemroot%\SYSVOL\sysvol\domain_name\scripts". You can assign a logon script to a user account. When a user logs on and a path to a logon script is present in the user account, the file is located and run.
The natagent.exe closes immediately after the logon script ends.
How to use custom columns
You can use custom columns for storing your custom information, for example serial number, phone number, etc... To edit data in custom column click "Edit Custom Column" button from the toolbar or click twice on custom data you want to edit.
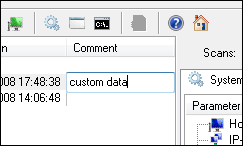
To manage custom columns select menu "File" -> "Options". Then select "Custom Columns".
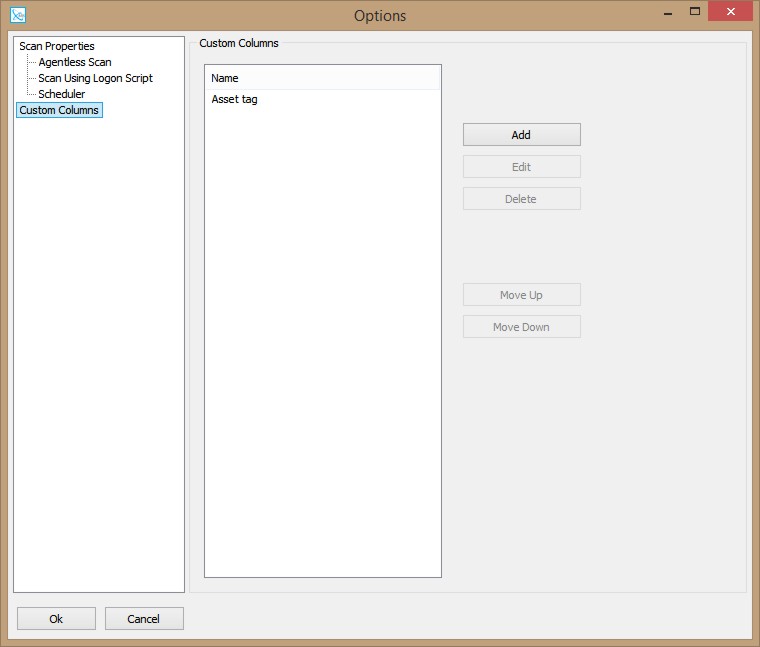
In the window "Options" you can add, delete or move custom columns up or down.
How to create report
Network Asset Tracker Pro provides four types of reports
·System Info;
·Software Info;
·Processes Info;
·Installed Software.
All that you need is to select report type in menu "Report", then mark information which you want to add to the report. To save settings made for report mark "Save Settings" check box.
You can export reports in HTML, MS Excel and RTF formats.
Example of list-style report: Report.
Example of sheet-style report: Report.
How to use scheduler
To enable scan schedule select menu "File" -> "Options", then select "Scheduler".
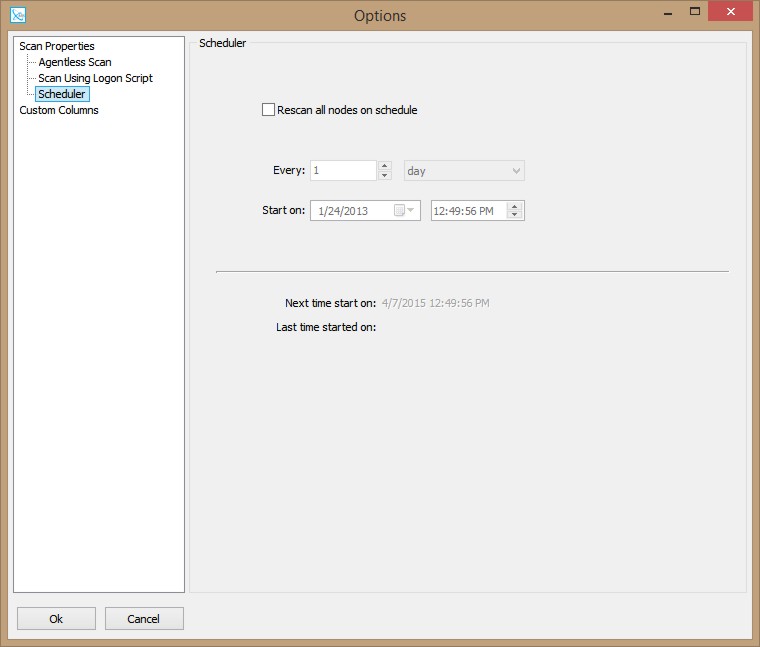
All you need is to set up next scan time and period of scans.
Copyright © 2002-2024 MIS Utilities. All rights reserved.
Privacy | Contact us